How-To Guide: Nail Wraps
If you're new to nail wraps, this guide is for you!
Other How-To Guides:
Semi-Cured Gel Wraps | Press-On Nails
How to Prep Nails

Collapsible content
Tools Required for Prep
- Nail file*
- Wooden cuticle stick*
- (Optional) Alcohol wipe or rubbing alcohol
- (Optional) Base coat
*Provided with your nail wrap purchase
How to Prep Nails
1. Use the wooden cuticle stick to gently push back your cuticles.
2. Shape your nails with a nail file.
3. Wash your hands thoroughly with soap and water, so that it is free of any oils and dust.
4. Make sure your hands and nails are completely dry.
(Optional) Wipe your nails with an alcohol wipe, or a lint-free wipe and rubbing alcohol.
5. (Optional) Apply a thin layer of base coat and cure, or leave to dry, till it's dry to touch.
How to Apply
Collapsible content
How to Apply Nail Wraps
You may watch the video above for visual reference, or refer to the steps below:
1. Measure and plan out which sizes to use for each nail by slightly curving the strip, placing on your nails and measuring the nail width from end-to-end.
Note: If in-between sizes, pick a strip that is slightly smaller than one that is too large.

2. Remove the clear plastic film on the top layer before peeling off the nail strip from its backing.

3. Align and paste the nail wrap onto your nail, avoiding cuticles and skin.

4. Firmly smooth out the nail wrap, then wrap the excess around the nail tip.
Note: Wrap and tuck the excess strip such that you can clearly see the shape of the nail tip (the edge that you will be filing).

5. Use the nail file to file off the excess nail wrap until it breaks off cleanly.
Note: Place the rough face of the nail file firmly on the edge of the nail tip and file in steady, short strokes.


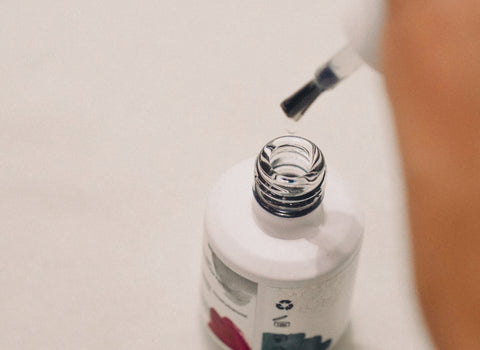
6. (Optional) Apply a layer of our Peel-Off Gel Top Coat, making sure to apply on the nail tip. Cure under the UV lamp for 60-90 seconds until dry to touch.

Gel Top Coat Application
Sealing your nail wraps with a top coat is optional, but many have extended their wear-time up to 4 weeks with just this extra step!
We highly recommend using our Peel-Off Gel Top Coat that's specially formulated for nail wraps. For best application, follow these steps:
1. Make sure there isn't an excessive amount of gel at the tip of the brush.

2. Apply a thin and even layer of Gel Top Coat over the nail wraps. Make sure to apply on the nail tip as it wears out easiest.


Pro Tips
#1: The 8 different nail wrap sizes are made to fit all nails. If you're in-between sizes, pick the size that's slightly smaller and gently stretch it to fit.
#2: File at an angle under the nail, instead of above it, to get a clean cut and seamless finish.
How to Remove

Collapsible content
How to Remove with Warm Water
1. Lift the sides of your nail wraps and soak your nails in warm water for ~8 minutes. This should loosen the adhesive.
2. Gently peel/roll the nail wrap off from the base of your nail to the tip.
How to Remove with Cuticle Oil / Hand Cream
1. Apply a generous amount of cuticle oil around the edges of the nail wrap.
2. Use the wooden cuticle stick to lift and loosen the edges.
3. Continue using the wooden cuticle stick to loosen and lift the nail wrap, then gently roll it off with your fingers. Reapply cuticle oil as needed.
Cuticle oils/hand creams facilitates the peeling off process by adding lubrication. This is highly recommended if you have drier nails as the oils and cream will help to nourish and strengthen your hands and nails. Excellent addition to your routine for healthier nails!
How to Remove with Nail Polish Remover
1. Wet the wooden cuticle stick with nail polish remover then start to loosen from the edges.
2. Repeat until the adhesive has loosened and gently push/lift the nail wrap off.
This method is the quickest as it dissolves the adhesive fully, allowing the nail wrap to pop off with ease. We recommend using Sally Hansen Moisturising or Strengthening Polish Remover.
Follow up with cuticle oil or hand cream to add moisture back into your nails for a well-rounded nail care routine.
